Creating and Defining Safes
Once you’ve built your group and profiles, you can now start to create and define Safes.
-
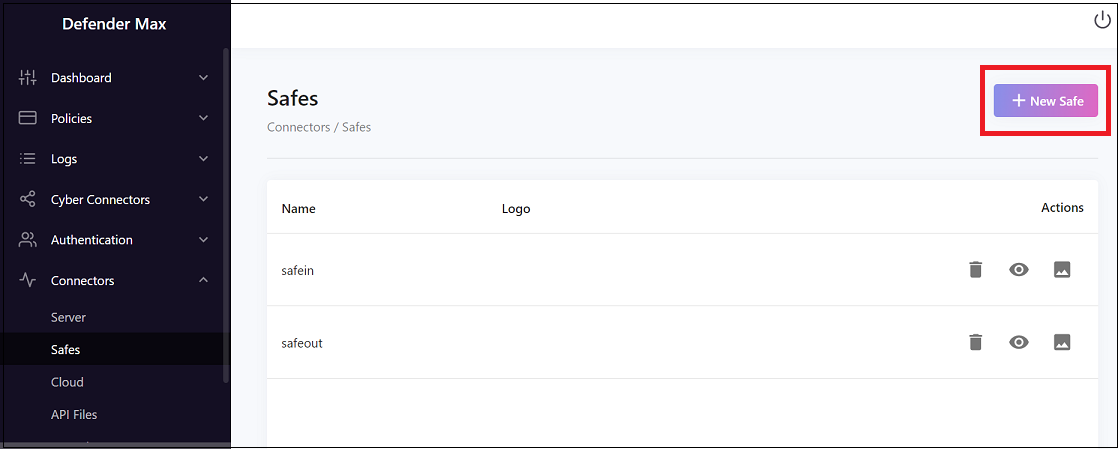
Go to Connectors > Safes > + New Safe.
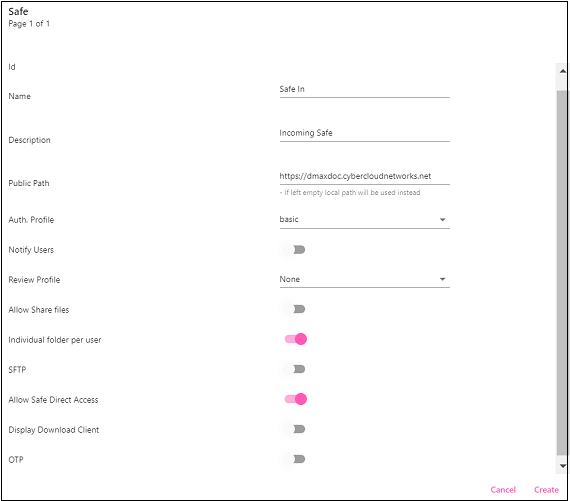
The options here include:
- Name: Enter a name; for example, “Safe In” for an incoming Safe.
- Description: Enter a suitable description; for example, “Incoming Safe”.
- The Public Path field is the external link.
- The Auth. Profile is the profile type that you built before.
- Notify Users means that every time a file is uploaded, the user that receives the file will be notified.
- Review Profile can be selected if you want a certain reviewer to confirm that the files are approved. In this case the files must be approved before they can be uploaded to the network.
- Allow Share files should be selected if you want to send files out externally.
- Select Individual folder per user if you want the files to go to a specific folder (per user) on the network.
- Select SFTP if you want to use this method for securely transferring files.
- Turn on Allow Safe Direct Access if you want to enable receiving files from guest users.
- Select Display Download Client for the downloaded client to appear.
- Turn on OTP if you want this option to be activated when an email is sent.
- Click Create to finish creating the Safe.
Updated over 1 year ago
Did this page help you?