Configuring SAML using Azure
PART 1: creating your app
1- Go to https://portal.azure.com
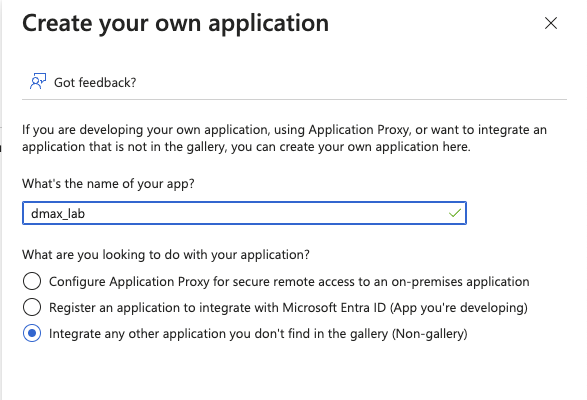
2- Go "HOME-> Enterprise Applications -> New Application -> Create your own Application", to create your application. Set a name for it and select Unlisted

user must have one of the following roles :
- Global Administrator
- Cloud Application Administrator
- Application Administrator
3- choose create your own application

4- give it a name and press create
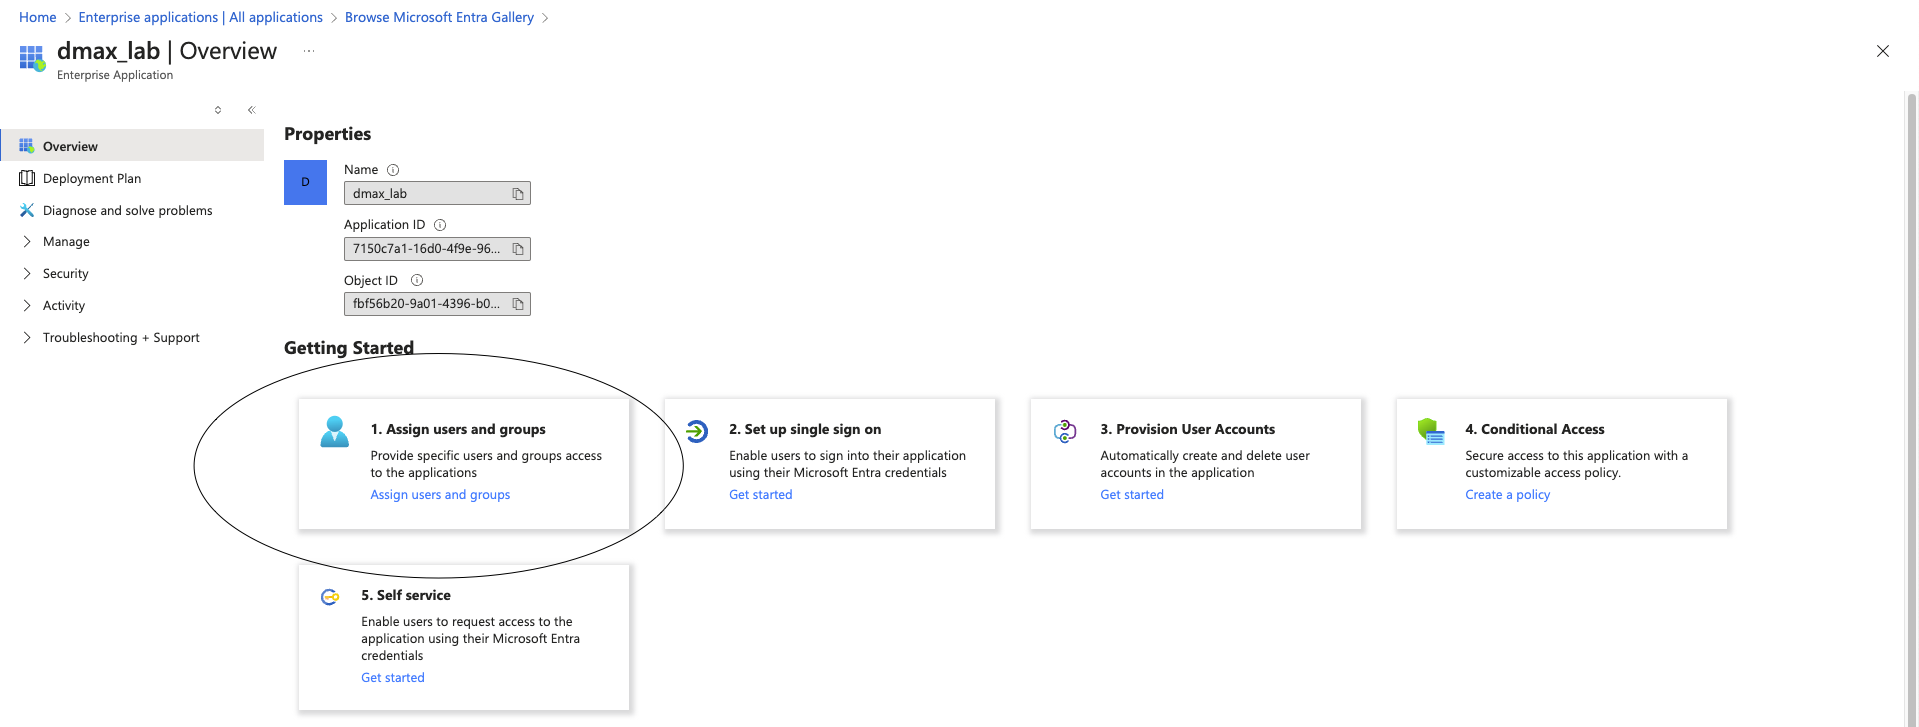
5- assign users or groups that can login to the dmax - press Assign users and groups
6- after assigining the users/groups , go back to overview and press set up signle sign on
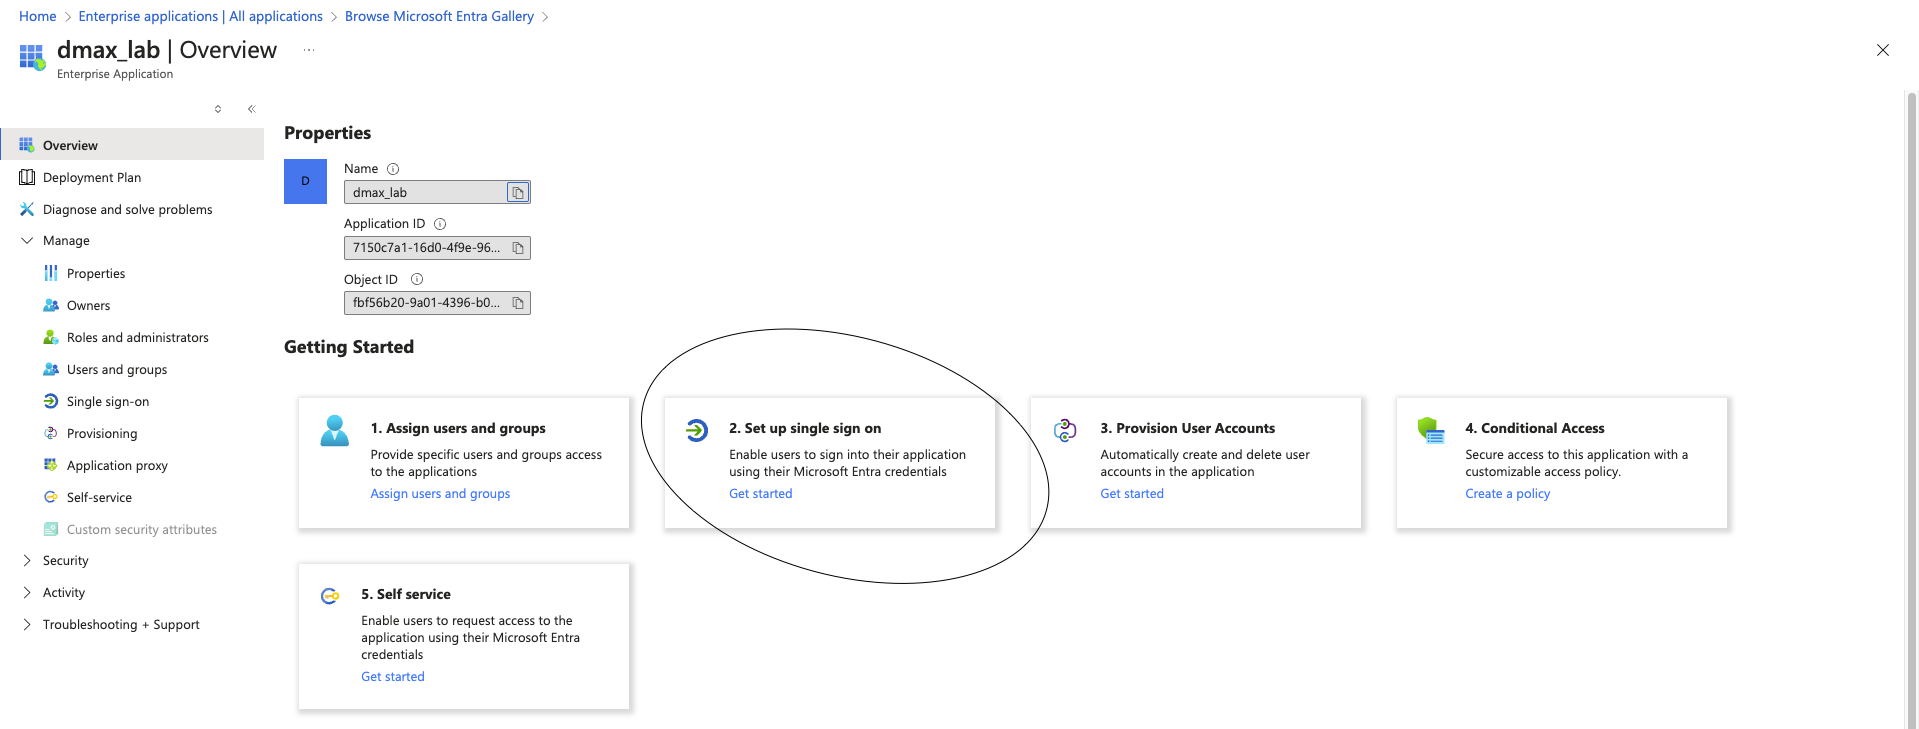
7- select SAML

8- press edit to the Basic SAML Configuration
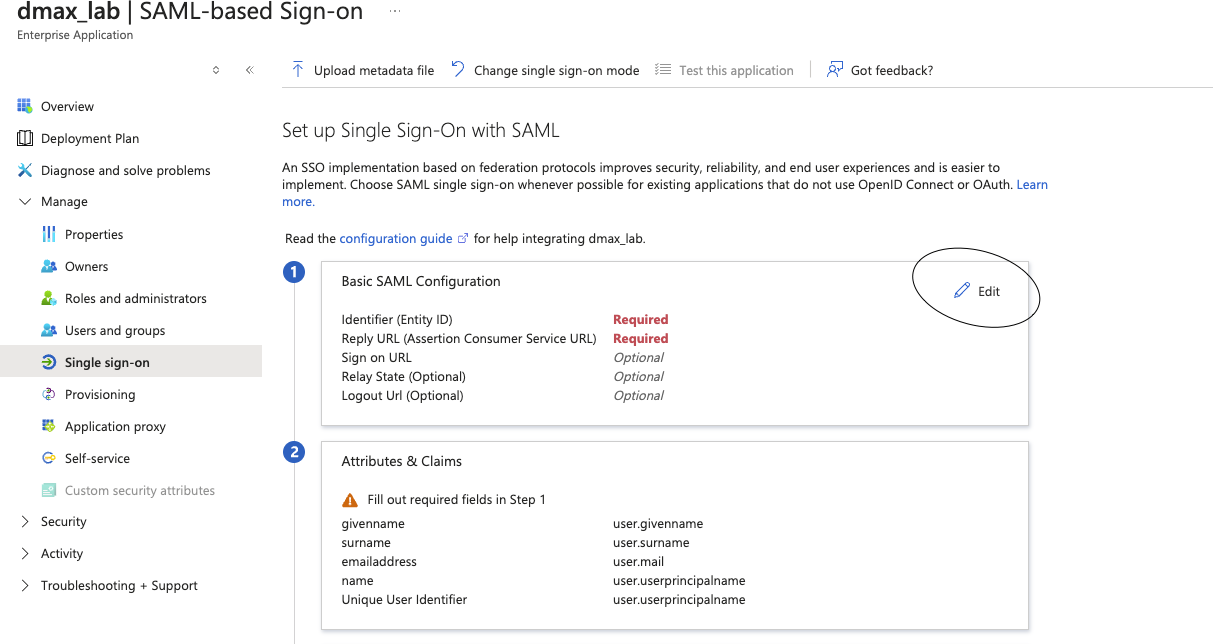
9- configure the Identifier (Entity ID) , this is the external url of your portal for example : https://lab120.cybercloudnetworks.net
10- configure the Reply URL (Assertion Consumer Service URL) it is the external url of your portal + /apv1/ssocallback like :
https://lab120.cybercloudnetworks.net/apiv1/ssocallback
11- press Attributes & Claims to add the group claim
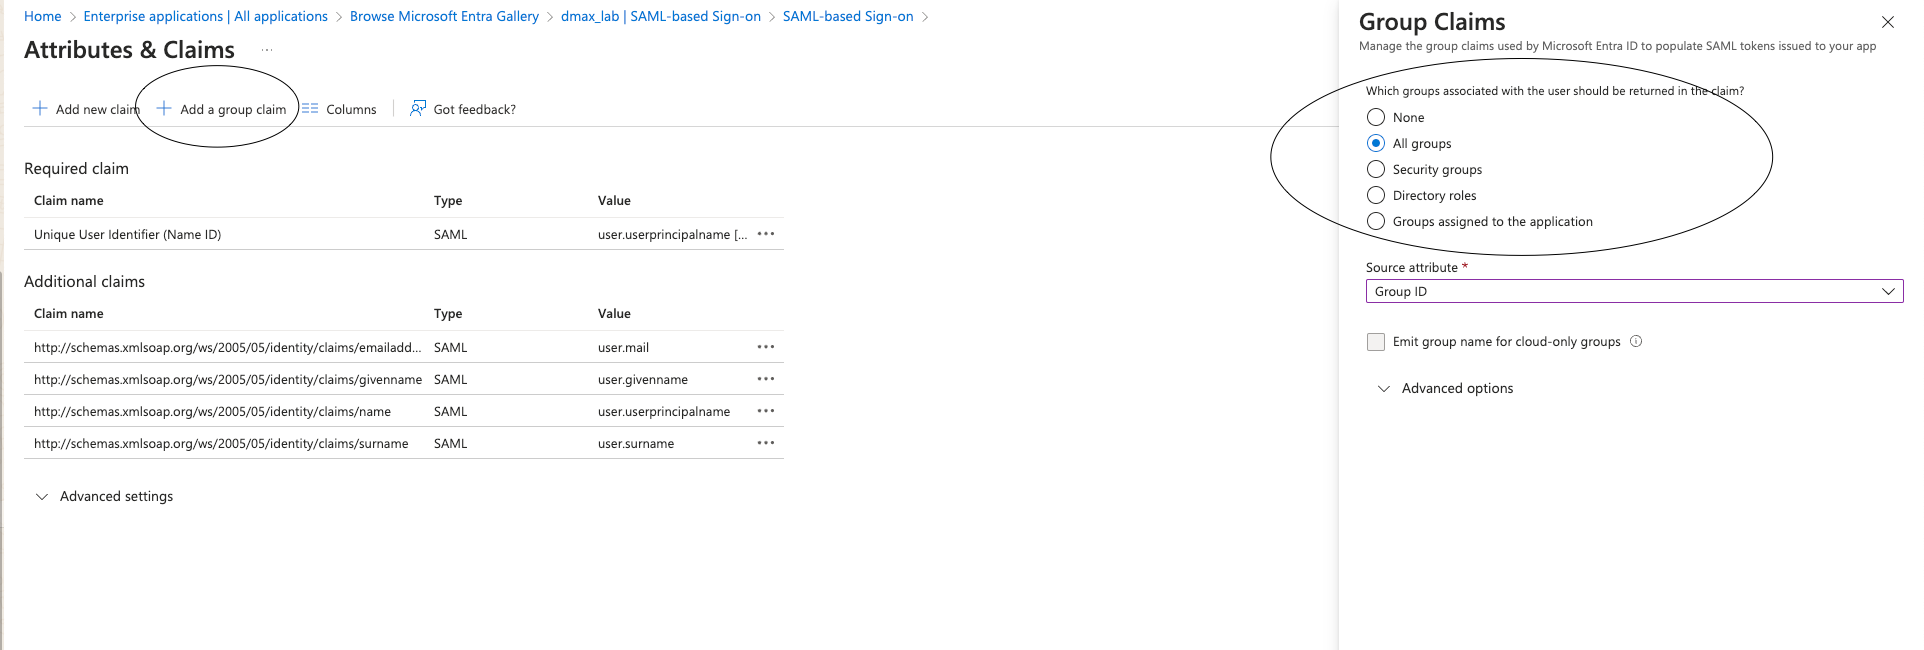
You can choose instead of all groups only assign or other to get less groups with the user claim
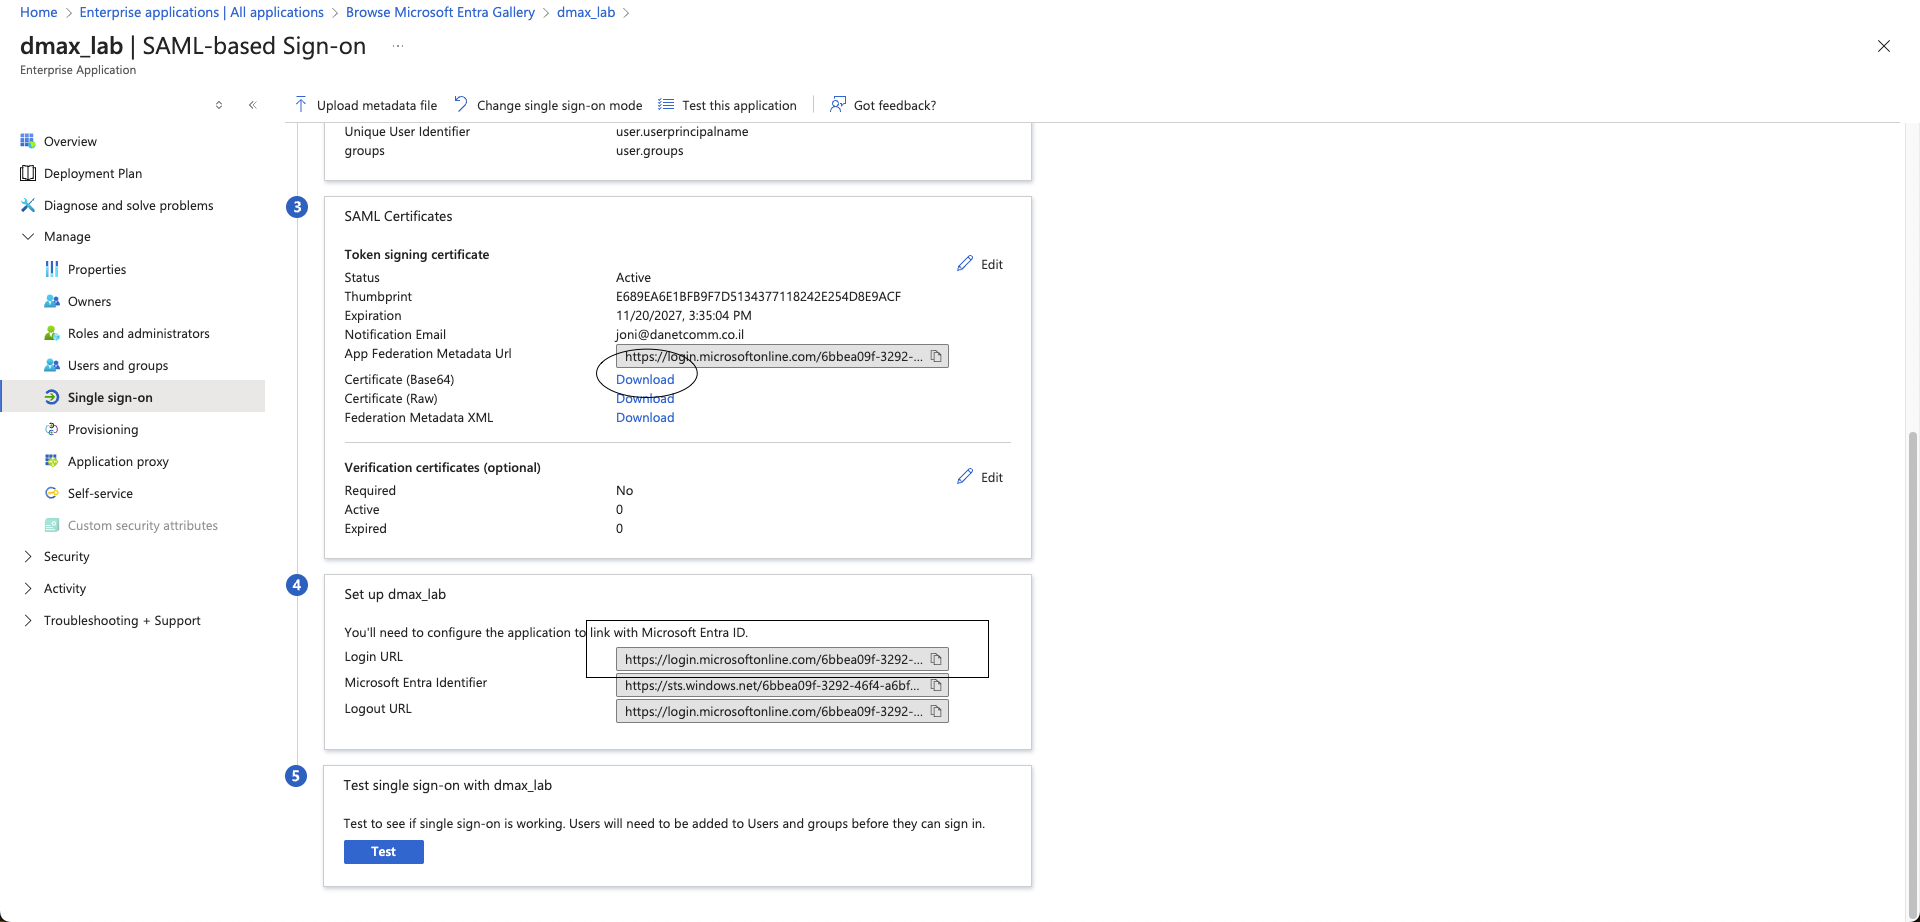
12- copy and save the login url and download the certificate
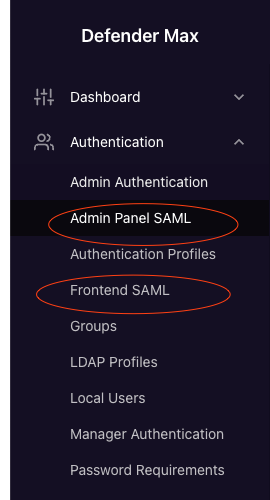
13 open the dmax and go to authenticaion (you can configure frontend for portal safe saml or admin saml for administrator
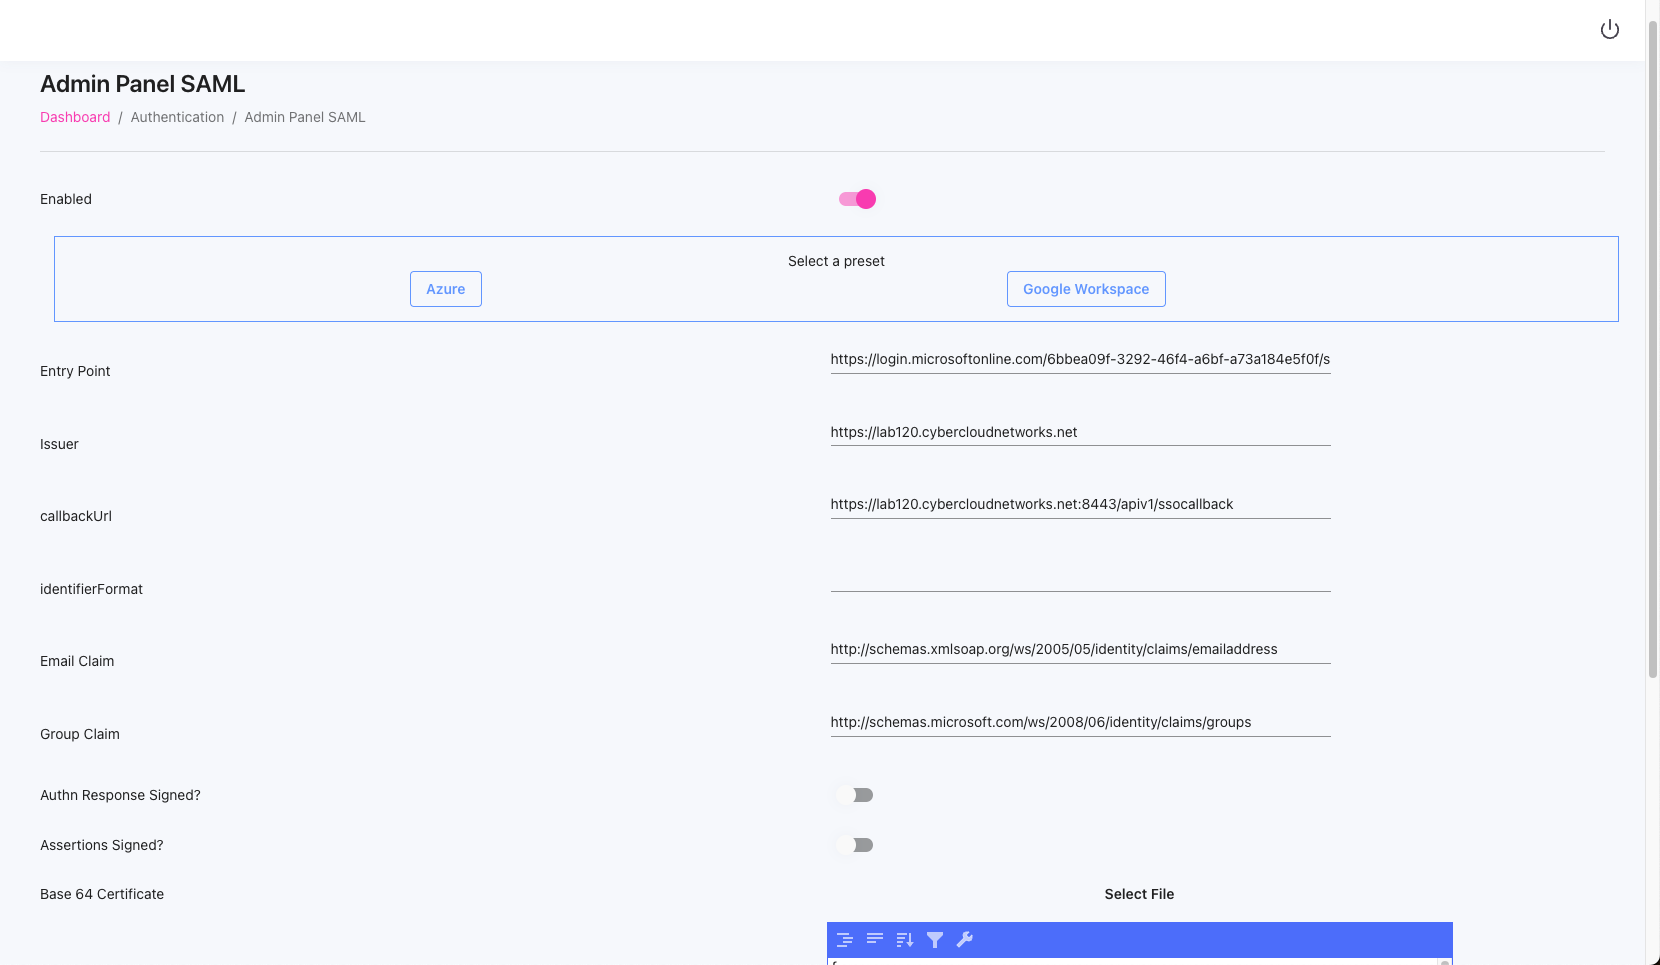
14 configure the following :
- Entry Point : is the Login URL of the from microsoft portal that we take before
- Issuer : is the portal url https://lab120.cybercloudnetworks.net
- callbackUrl : is the url plus the callback like https://lab120.cybercloudnetworks.net/apiv1/ssocallback
- base 64 certificate: upload the certificate that you downloaded from microsoft before
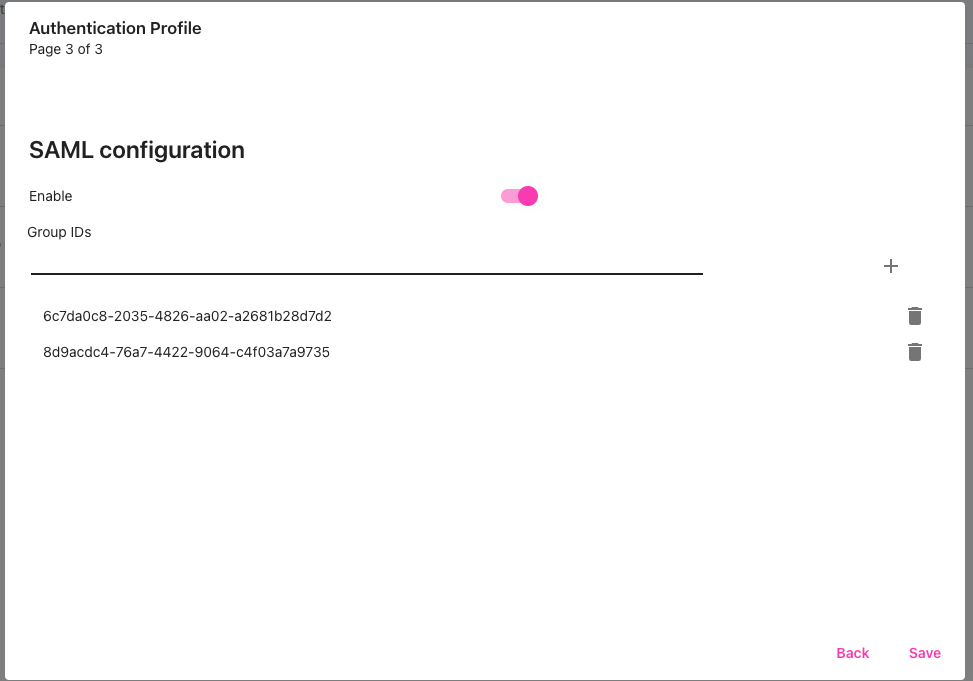
15- go to authentication profile edit the profile where you want to enable saml

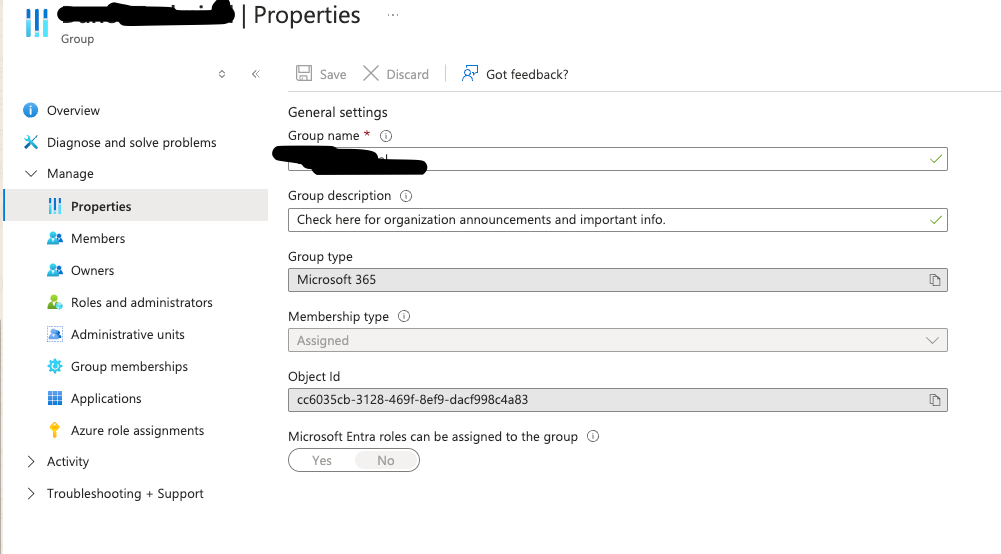
16- on SAML enable it and add the groups you want to be allowed - the group id you can take it from azure groups , propierties
Updated over 1 year ago