Cloud Connectors - AWS
To create and configure a cloud connector with AWS:
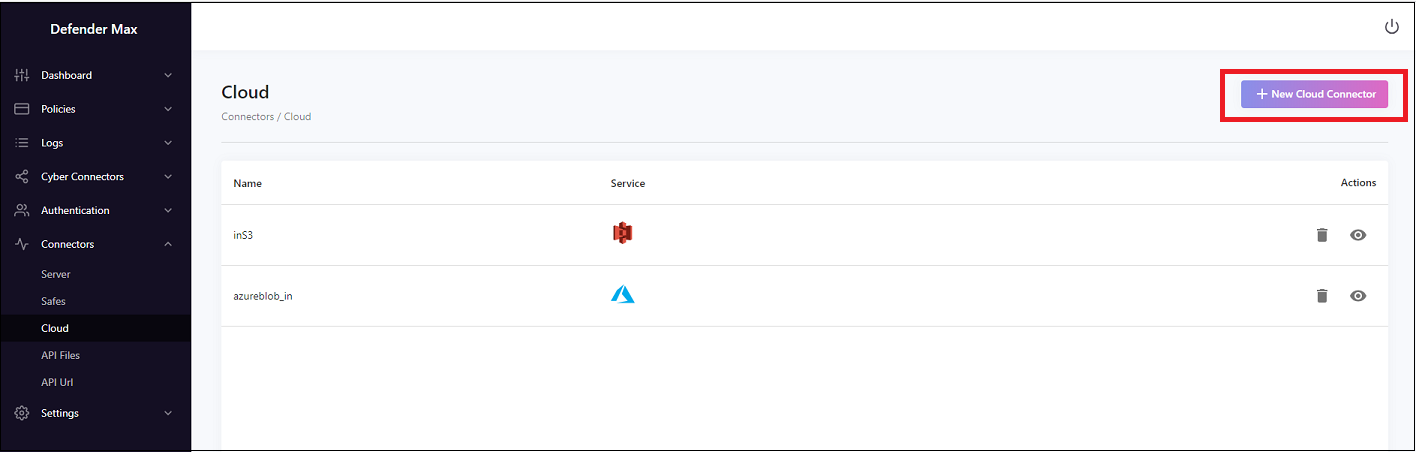
- Go to Connectors > Cloud > + New Cloud Connector.
- Enter a Name for the connector; for example, inS3.
- Enter a Description.
- In the Folder field, if for example you uploaded files to S3, you can set this to bring in or out only files from a designated folder.
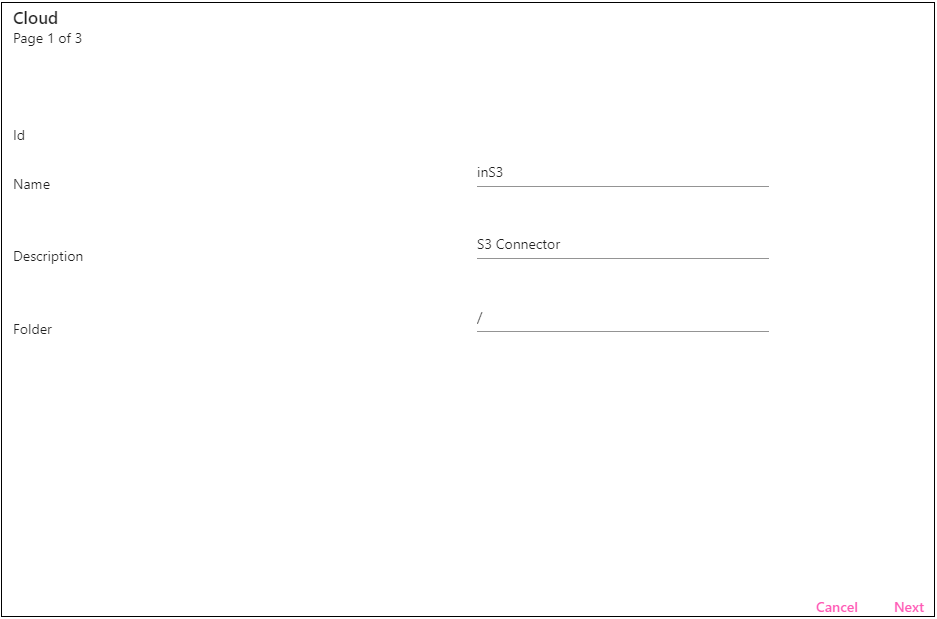
- Click Next.
- Here we’ll select aws-S3 as the cloud service.
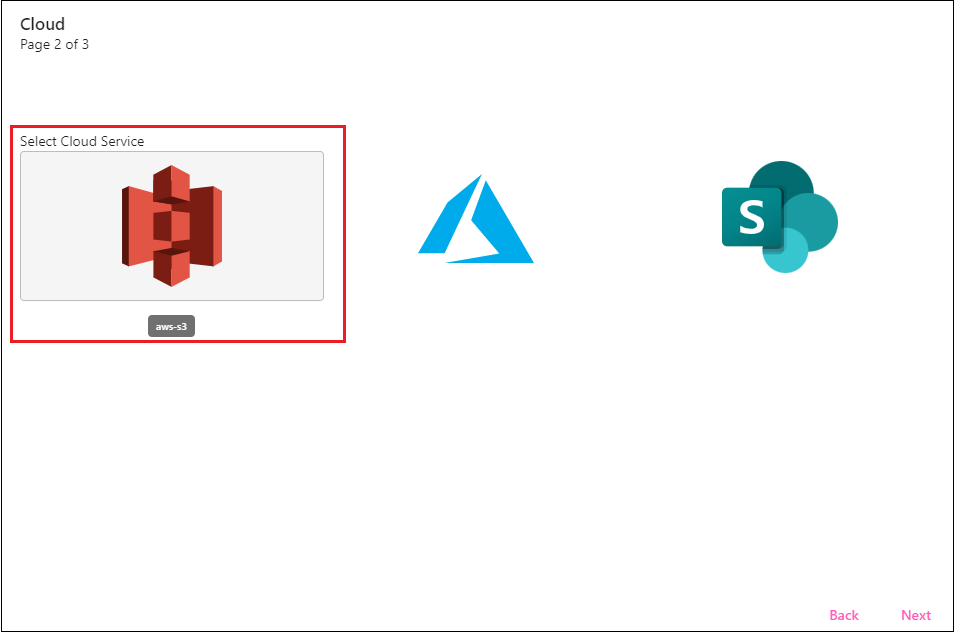
- Click Next.
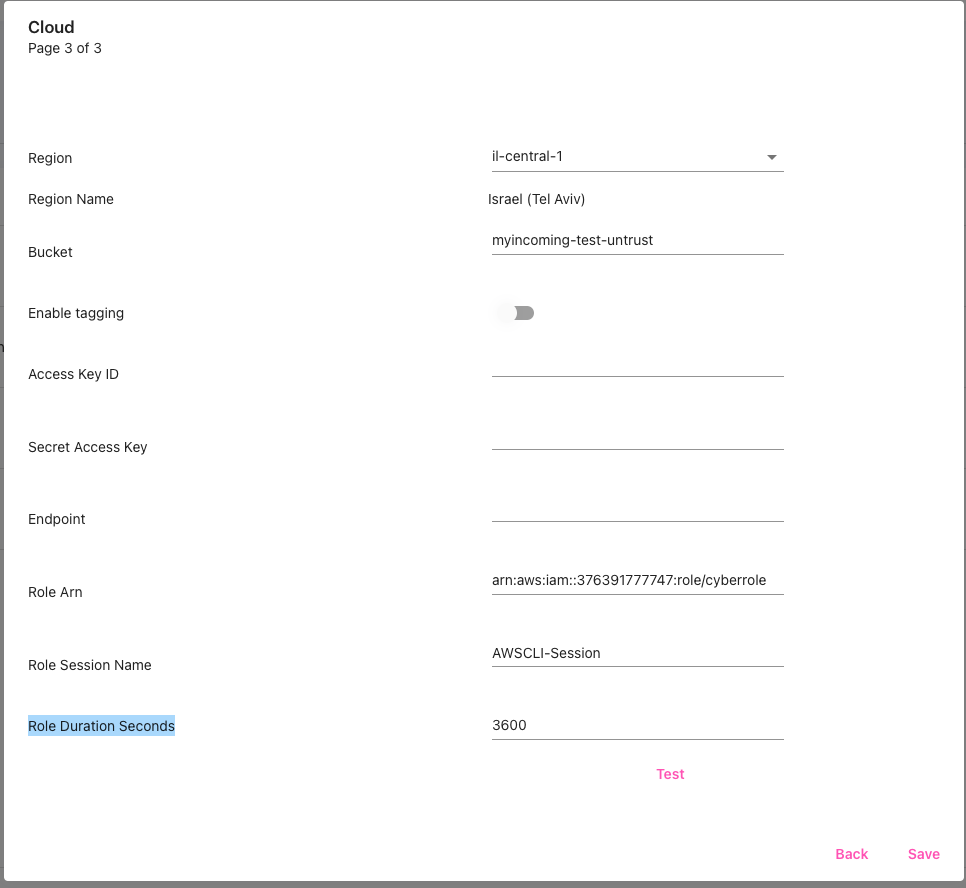
- Select the Region where you are installing (for example, eu-west-1). The Region Name will populate based on that.
- Enter the Bucket name, based on the S3 bucket you created in AWS.
For the security access you have several options :
- access id and secret - you can get the access id and secret from aws and put it on the bellow fields
- use IAM roles - if you leave the accessid and secret empty - the dmax will use the IAM roles that is attached to the ec2 instance of the dmax
- assume role : you can assume a role from a different account to do so :
- configure the arn of the role you want to assume
- role session name = AWSCLI-Session (if you don't need nothing special)
- Role Duration Seconds = 3600 if not changed on aws
You can also configure vpc endpoints if needed to contact the s3. just configure the endpoint
Updated over 1 year ago
Did this page help you?